 Web Hosting
 Windows HostingBuilt for Windows apps and websites – stability, speed and flexibility
 Reseller HostingLaunch a hosting business without technical skills or expensive infrastructure
 Affiliate ProgramRefer customers and earn commissions from sales across our platform
 Domain SearchFind and secure a domain name in seconds with our quick lookup tool
 All DomainsExplore domain names from over 324 TLDs globally – all in one place
 Free Whois Lookup Tool South Africa
 VPS
VPS SSLs
SSLsStudent hosting refers to web hosting services aimed at students for hosting personal websites, blogs, portfolios, and other projects.
As more schools adopt project-based curriculums, students need affordable and easy web hosting options to showcase their work online.
Static site generators like GitHub Pages and Wix offer free limited hosting, while services like Netlify and Heroku have free tiers for students with additional features.
Paid plans are also available once free limits are exhausted.

When evaluating student hosting providers, key aspects to consider include:
- Cost
- Supported technologies/frameworks
- Uptime and reliability
- Bandwidth and storage
- Custom domains
- Security provisions
- Ease of use
Table of Contents
Popular Student Hosting Providers
Here is an overview of some popular hosting platforms for students:
| Provider | Free Limits | Key Features |
|---|---|---|
| GitHub Pages | Unlimited public sites 100GB Bandwidth | Git-based workflow Great docs & Community |
| Netlify | 100GB Bandwidth Basic DDoS protection | Integrations with GitHub etc Continuous Deployment |
| *Heroku | 550-1000 Free Dyno Hours/Month Custom Domain Support | Supports Node & Ruby Add-on services |
| Awardspace | 300MB Storage 2GB Bandwidth | Free Domain Lots of One-click installs |
| Byet | 1GB Storage 50 GB Bandwidth | 5 addon domains SSD-accelerated |
*Update: Starting from November 28th, 2022 Heroku shuts down their free tier, which means that free Heroku Dynos, Postgres and Redis servers will no longer be available.
GitHub Pages
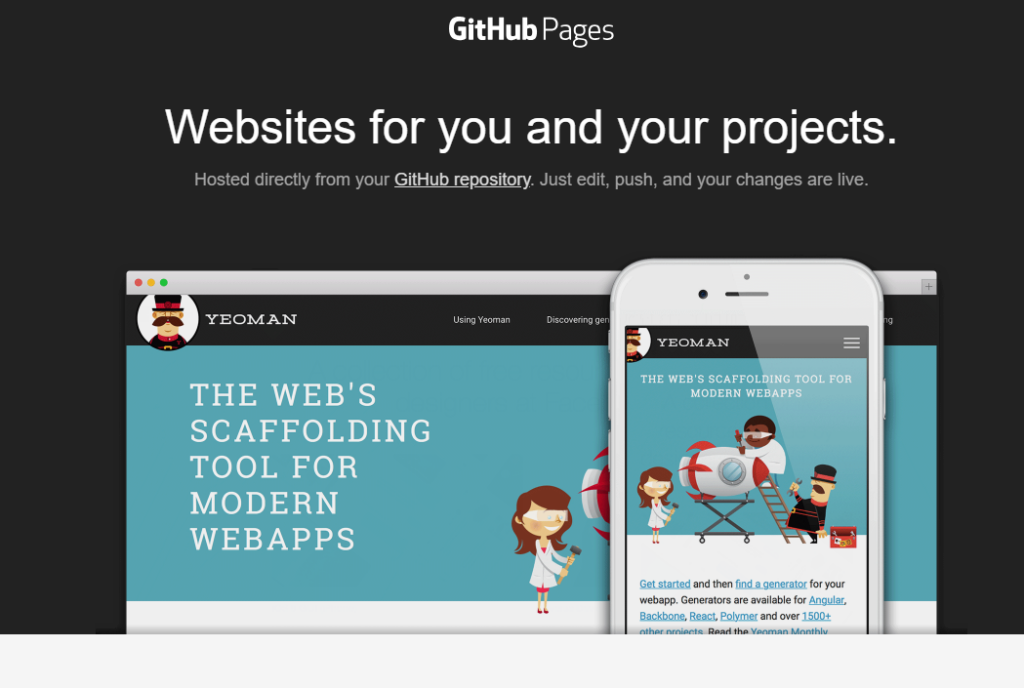
GitHub Pages is one of the most popular choices for hosting static sites for students due to its generous free tier and integration with GitHub for version control. Key highlights include:
- Unlimited Public Repositories – Host any number of public sites
- 100GB Data Transfer – Sufficient for most student projects
- HTTPS Supported – Free SSL certificate for custom domains
- Easy to Use – Built into GitHub, easy workflow
Downsides are lack of server-side coding support and limited customization options.
Overall, GitHub Pages is great for hosting static portfolios, personal blogs, project pages and documentation sites.
Netlify
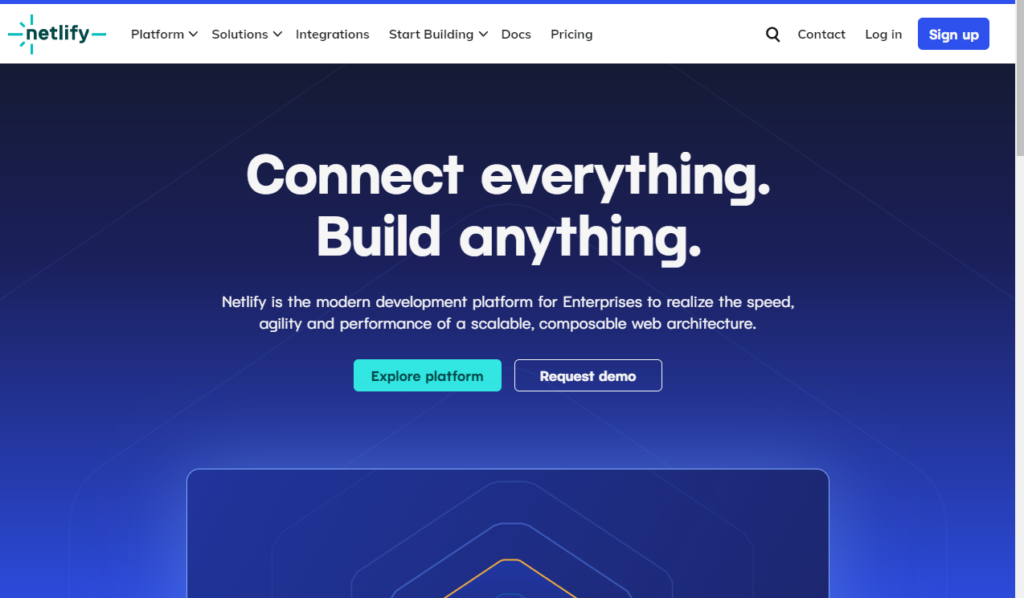
Netlify offers a very developer-friendly hosting platform with native integrations for popular static site generators like Hugo, GatsbyJS and more.
Benefits for students include:
- Generous 100GB monthly bandwidth in the free tier
- Supported technologies like React, Vue, Angular, Hugo, Jekyll etc
- Continuous Deployment from Git repositories
- Custom domain and HTTPS support
- Basic DDoS protection
The free tier is production-ready and ample for most students. Paid plans enable serverless functions, more customization and enterprise features.
Read also: Linux VPS in South Africa: All You Need To Know
Cost Considerations
When evaluating hosting plans, students should consider:
- Upfront Costs – Many services have extremely generous free tiers while some specialized providers charge monthly fees but may offer student discounts.
- Ongoing Costs – While core hosting may be free, costs can add up for add-ons like bandwidth, storage, custom domains etc. Watch out for these.
- Limited Time Offers – Some hosting providers offer free credits for 12 months etc but charge later on. So students may need to switch later.
- Budgeting for Upgrades – While free tiers look attractive now, students may need to upgrade down the road if their sites become popular. Plan budgets accordingly.
Tips for Managing Costs
Here are some tips students can use to minimize hosting costs:
- Start with a free tier and upgrade only if necessary
- Look for student discounts where available
- Minify resources and enable compression
- Cache assets using a CDN
- Set budgets for different resources
- Monitor site traffic and set alerts
- Take advantage of any limited time offers
Features to Look For
Here are some key features students should evaluate when selecting a hosting provider:
Supported Technologies – Choose a platform tailored to your stack – Node, Python, PHP, Ruby etc.
Uptime & Reliability – Look for providers with 99%+ uptime guarantees backing student sites 24/7.
Bandwidth Limits – Ensure there is ample headroom over your projected visitor traffic.
Custom Domain Support – Option to use your own domain is preferable.
One-Click Installs – Quick launch for CMSs like WordPress helps with getting started faster.
Security Provisions – Look for free HTTPS, firewall protection, DDoS mitigation etc.
Performance & Scaling – Make sure the platform can smoothly handle traffic spikes during periods of high site usage.

Ease of Use – Prioritize intuitive control panels and workflows suited for beginners.
Support Options – Good documentation and community forums are a must for help.
Money-back Guarantee – Partial refund policy provides an assurance on quality of service.
Choosing a Student Hosting Platform
With several options for free and paid hosting tailored to students, how should you select the right provider? Here is a step-by-step process:
1. Understand Project Requirements
Take stock of your website goals, page templates, target audience and timeline. This will determine:
- Type of site – blog, portfolio, documentation etc
- Markup and technologies used – HTML, JavaScript, CSS
- Traffic expectations – pageviews, bandwidth needs etc
- Functionality needs – CMS, comments, forms etc
2. Make a List of Prospective Services
Next, list down services that can potentially match your needs based on findings from step 1.
3. Compare Candidates in Detail
Now do an in-depth feature comparison across your shortlisted providers using some parameters:
- Pricing structure
- Uptime record
- Technical abilities
- Ease of getting started
- Scalability options
- Security provisions
- Customer support responsiveness
- Any student-specific discounts
4. Sign Up for Trials
Most hosting companies offer trial periods.
Create test sites on the promising platforms from the previous step to evaluate aspects like:
- Dashboard usability
- Workflow and customizations
- Performance metrics
- Ease of domain setup
- Guidance resources
5. Pick the Best Fit
With first-hand experience from the trials, you should now be in a position to decide the ideal platform for your needs based on the website priorities identified initially.
Security Best Practices
Since students may host sensitive data like credentials for research papers and class projects, it is vital to adhere to security best practices:
Access Control
- Leverage role-based access control to limit access to site dashboards and servers
- Use the principle of least privilege to restrict user permissions only to what is essential
- Implement 2FA for all logins and enforce strong password policies
Resource Isolation
- Separate databases, container registries, file storage etc. used for different projects
- Create private / internal networks isolating project resources from public internet
Encryption
- Require HTTPS via free SSL certificates provided by most hosting companies
- Encrypt cached files and databases containing private data
Monitoring
- Actively monitor access logs, site traffic, outbound requests etc. to detect issues early
- Get alerted for spikes in 5xx errors, 404s and traffic drops indicating potential incidents
Backups
- Schedule regular backups of site source, media files and databases on external repositories
- Maintain multiple generations of backups for disaster recovery
Updates
- Subscribe to security bulletin alerts and promptly patch vulnerabilities in CMSs or other software
- Use auto-updates for dependencies to stay on top of latest fixes
Getting Started Guide
Here is a step-by-step guide for students to launch their first project site:
1. Pick Your Host
Evaluate the various free hosting options and pick one aligned with your tech stack and features.
2. Sign Up
Create a user account on the selected provider by agreeing to their terms.
3. Install Site Generator
Many platforms have site builders and templates to streamline setup eg: Hugo on Netlify, Jekyll on GitHub etc.
4. Connect Domain
If using a custom domain, connect it to your hosting account via domain registrar.
5. Upload Content
Populate your initial site pages and blog posts using the generator UI or manually.
6. Configure Settings
Adjust site parameters, access controls, webhooks integrations as needed.
7. Test & Debug
Verify site content looks good on both desktop and mobile. Fix any errors.
8. Go Live
With testing completed, flip environment from draft to production mode to launch publically.
9. Track Analytics
Review visitor traffic, top pages, platform usage etc. to refine site further. Celebrate your achievement!
Here are some key takeaways on student web hosting:
Key Takeaways
- Student hosting provides affordable and easy hosting options for portfolios, blogs, websites and other academic projects.
- GitHub Pages, Netlify, Heroku and Wix are some of the most popular free tiers available.
- Focus on core criteria like reliability, bandwidth limits, security protections and ease of use when evaluating providers.
- Start with free tiers and budget for potential upgrades down the road as projects scale.
- Use best practices like access control, encryption and backups to keep student data safe.
- Modern hosting platforms make launching student sites very easy via pre-built templates and one-click installs.
- There are ample documentation resources to help students troubleshoot issues on their own.
- Analyzing site traffic and usage metrics helps to continuously improve hosted projects over time.
Read also: Latest On Afrihost Linux Hosting Packages